How to Grout Tiles : A Complete Beginner’s Guide
Grouting is the final, most important step in any tiling project. It seals the gaps between tiles, stops moisture from seeping in, keeps dirt out, and gives your surface a neat, professional finish. Whether you’re working on a kitchen splashback, bathroom floor, or wall tiles, this guide will walk you through every step, so here’s a quick run down of how to grout tiles.
🛠️ What You’ll Need
- Grout – choose the right type:
- Sand grout: for gaps wider than 3mm (usually floors, large tiles)
- Unsanded grout: for gaps smaller than 3mm (walls, small tiles, natural stone)
- Epoxy grout: highly water-resistant, ideal for wet areas like showers
- Grout float – rubber tool to spread the grout
- Large bucket & clean water
- Sponges – 2–3 clean, non-scratch sponges
- Soft cloth or microfiber towel
- Mixing stick or drill mixer attachment
- Protective gear: gloves, safety goggles, dust mask
- Grout sealer (optional but recommended)
⏱️ Before You Start
✅ Make sure the tile adhesive is fully dry and set — usually wait 24–48 hours after tiling.
✅ Remove any spacers between tiles.
✅ Wipe away any excess adhesive from tile surfaces.
✅ Work in a well-ventilated area.
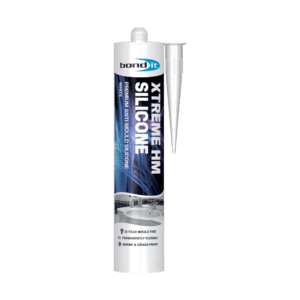
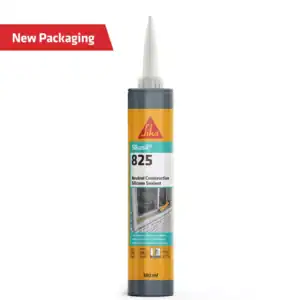
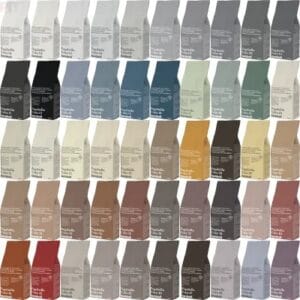
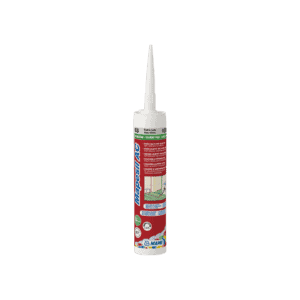
✅ Use or get a good and trusted brand of grout some are here
📝 Step-by-Step Instructions
Step 1: Mix the Grout
Follow the instructions on the packaging carefully:
- make sure to remove the spacers in between the tiles.
- also make sure your tile adhesive is dry or after its suggested drying/grout time (this is normally on the back of the tile adhesive bag.
- Add water to the bucket first, then slowly add the grout powder.
- Stir until you get a smooth, thick paste — similar to toothpaste or peanut butter. It should hold its shape when scooped.
- Let it rest for 5–10 minutes (this is called “slaking”), then stir once more before using.
- Only mix what you can use in 30–45 minutes — grout hardens quickly!
Step 2: Apply the Grout
- Put on your gloves. Load some grout onto your rubber float.
- Hold the float at a 45° angle and press firmly across the tiles, pushing the grout deep into the joints.
- Work in small sections (about 1m² at a time) so it doesn’t dry before you clean it.
- Scrape off excess grout from the tile surface using the edge of the float.
Step 3: Clean the Surface
- Wait 15–20 minutes — until the grout feels firm to the touch but not fully hard.
- Dip your sponge in clean water, squeeze it out well (it should be damp, not dripping).
- Wipe diagonally across the tiles to remove residue without pulling grout out of the gaps.
- Rinse the sponge frequently and change the water when it gets cloudy.
- try not to scrub has as it may leave an uneven finish a Genesis wash boy is a good tool to have as it make this step easier
- Do this 2–3 times until the tiles look clean.
Step 4: Remove the Haze
After about 1 hour, you may notice a thin, powdery film (grout haze) on the tiles.
- Use a dry, soft cloth or microfibre towel to buff it off gently.
- If it’s stubborn, use a slightly damp cloth, then buff dry.
An extra optional Step 5: Cure and Seal
- Let the grout cure fully — usually 3 days before getting it wet regularly each brand has a different or variable time so make sure to check.
- Once cured, apply a good-quality grout sealer. This protects against stains, water damage, and mould. Apply 2 thin coats, following the product instructions.
💡 Top Tips for Perfect Results
- Don’t use too much water — this weakens the grout and can cause cracking.
- Work quickly — once it starts to set, it’s much harder to clean.
- Avoid walking on floor tiles for at least 24 hours after grouting.
- For bathrooms/showers, wait 72 hours before using the space fully.
🚫 Common Mistakes to Avoid
❌ Skipping spacers or leaving gaps too uneven.
❌ Applying grout before adhesive is dry.
❌ Using sanded grout on soft stone tiles — it can scratch them.
❌ Forgetting to seal grout — this leads to stains and mould over time.
Grouting may feel tricky at first, but with patience and the right method, you’ll get great results. Take your time, and you’ll have a finished surface that looks fantastic and lasts for years!
Below are some tools and links to help you get started!