Mastic is one of those trade words that gets used for half a dozen different products. Ask ten tradespeople what mastic is and you will get ten slightly different answers — silicone, caulk, sealant, adhesive. This guide explains what mastic actually is, the main types you will come across on site, and how to choose the right one for the job.
What is mastic?
In the building trade, mastic is a broad term for a flexible, gun-applied compound used to seal joints, fill gaps and bond materials. It goes on wet, is tooled into place, and cures to form a durable, weatherproof seal. Historically the word referred to a specific resin-based filler, but today it is used loosely across the trade to cover silicones, hybrid polymers, acrylics and polyurethanes — essentially any cartridge sealant applied with a mastic gun.
That is exactly why we are called The Mastic Shop: we specialise in the full range of sealants and mastics for trade and professional use. You can browse the complete sealants range here.
Mastic, sealant, caulk or adhesive — what is the difference?
The terms overlap heavily, which is where most of the confusion comes from. In practice: “sealant” describes the job — sealing a joint against water and air. “Mastic” usually describes the same kind of product, applied from a cartridge. “Caulk” tends to mean a decorator’s acrylic used to fill gaps before painting. “Adhesive” emphasises bonding strength. Many modern products now do both jobs at once — they seal and bond — which is why the line between them keeps blurring.
The main types of mastic
Choosing the right mastic starts with knowing the main families and what each one is built for.
Silicone
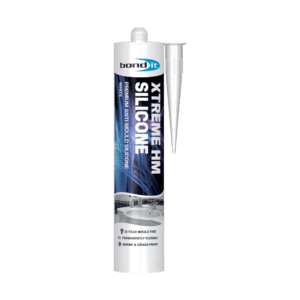
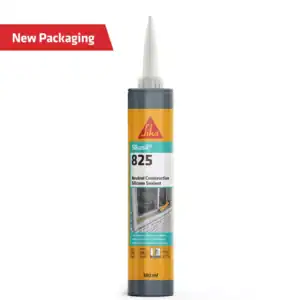
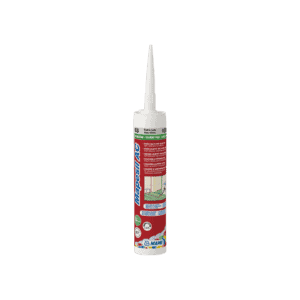
The workhorse for wet areas. Silicone is fully waterproof, stays flexible for years and handles plenty of joint movement, which makes it the default choice for bathrooms, kitchens, wet rooms and around baths and showers. Most silicones cannot be painted over, so colour-match at the point of purchase. Explore our silicone sealants, including the popular Sika Everbuild Sikasil 825 in a wide range of colours.
Siliconised acrylic (decorator’s caulk)
The painter’s go-to for internal decorating. Acrylic caulk fills gaps around skirting, architrave, coving and door frames, and takes paint once skinned over. It is not as flexible or as water-resistant as silicone, so it is best kept to dry, internal areas rather than permanently wet joints.
Polyurethane (PU)
A tougher, high-strength option for construction and external work. Polyurethane mastic bonds strongly, resists weather and abrasion, and can usually be painted, making it well suited to expansion joints, cladding and general building work where durability matters most.
Hybrid / MS polymer
The modern all-rounder. Hybrid (MS polymer) sealants combine the flexibility of silicone with the adhesion and paintability of polyurethane. They are low-odour, stick to almost any substrate wet or dry, and are increasingly the choice for jobs that need one product to seal and bond in demanding conditions.
Butyl and bitumen
Specialist products for roofing and waterproofing. Butyl and bitumen-based mastics stay tacky rather than curing hard, which lets them seal laps, flashings and roofing details against water. You will find these in our roofing and specialist ranges.
Can you paint over mastic?
This is one of the most common questions on site. Standard silicone cannot be painted — paint will not adhere to it and simply beads off or peels. If a joint needs to be painted, use a siliconised acrylic (decorator’s caulk), a hybrid/MS polymer, or a polyurethane, all of which accept paint once fully cured. As a rule of thumb: if it has to take paint, keep standard silicone away from that joint.
How long does mastic take to cure?
Curing happens in two stages. First the surface skins over — usually within about 10 to 30 minutes — after which the bead should not be disturbed. Full cure, where the sealant reaches its final strength and water resistance, takes longer and depends on the product, the depth of the joint, and the temperature and humidity. Thicker beads and cold, damp conditions slow things down. Always check the product datasheet and allow full cure before exposing a joint to water.
How to choose the right mastic
Run through this quick checklist before you pick a cartridge:
- Location — internal or external, and is the joint permanently wet? Wet areas point to silicone or hybrid.
- Movement — joints that expand and contract need a high-movement silicone or hybrid, not a rigid filler.
- Paintable? — if it needs painting, choose acrylic, hybrid or PU. Standard silicone will not take paint.
- Bonding — if the product also has to hold materials together, a hybrid or polyurethane is the safer bet.
- Substrate — porous, non-porous or plastic surfaces can affect adhesion; check the product is rated for it.
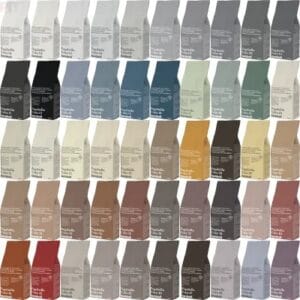
- Colour and finish — match the sealant to the grout, frame or tile for a professional result.
How much mastic do you need?
A standard cartridge covers a surprising amount of ground, but the exact run depends entirely on the bead size — a fine 5 mm bead goes much further than a deep 15 mm one. For larger jobs it pays to buy by the box rather than the single cartridge, both for cost and to avoid running short mid-run. If you are unsure, over-order slightly; a spare cartridge is cheaper than a second trip to the merchant.
Application tips for a clean, long-lasting finish
The product only performs if it is applied well. A few fundamentals make all the difference:
- Clean and dry the surface first, and fully remove any old sealant — new mastic will not bond over grease, dust or failing silicone.
- Cut the nozzle to match the joint width and use a decent mastic gun for steady control.
- Mask both sides of the joint for a crisp line, especially on show finishes.
- Tool the bead before it skins over, using a sealant tool or a soapy finger for a smooth concave finish.
- Allow the product to cure fully before exposing it to water or movement — always check the datasheet for cure times.
Common mastic mistakes to avoid
- Applying over a dirty, wet or greasy surface — the number one cause of sealant failure.
- Leaving old, failing silicone in place instead of removing it fully.
- Using standard silicone in a joint that later needs to be painted.
- Choosing a low-movement filler for a joint that flexes, which leads to cracking and gaps.
- Skipping the tooling step, which leaves a rough bead that traps dirt and looks unprofessional.
Shop mastics and sealants at The Mastic Shop
Whatever the job, we stock trade-quality mastics for it. Browse the full sealants range, explore our silicone sealants, or if you are working in a bathroom, read our companion guide to the best silicone sealant for bathrooms.